THANKSFOR BUYING A KRONOX HANDLEBAR RISER!
Welcome to an enhanced riding experience with the Kronox Handlebar Risers! This guide will walk you through the installation process step-by-step. Rest assured, it’s straightforward and hassle-free.
For your safety, please install it according to the following instructions.
Instructions
Step 1
Secure Your Motorcycle
Before you begin, make sure your motorcycle is stable and properly supported to prevent any tipping or movement during the installation.
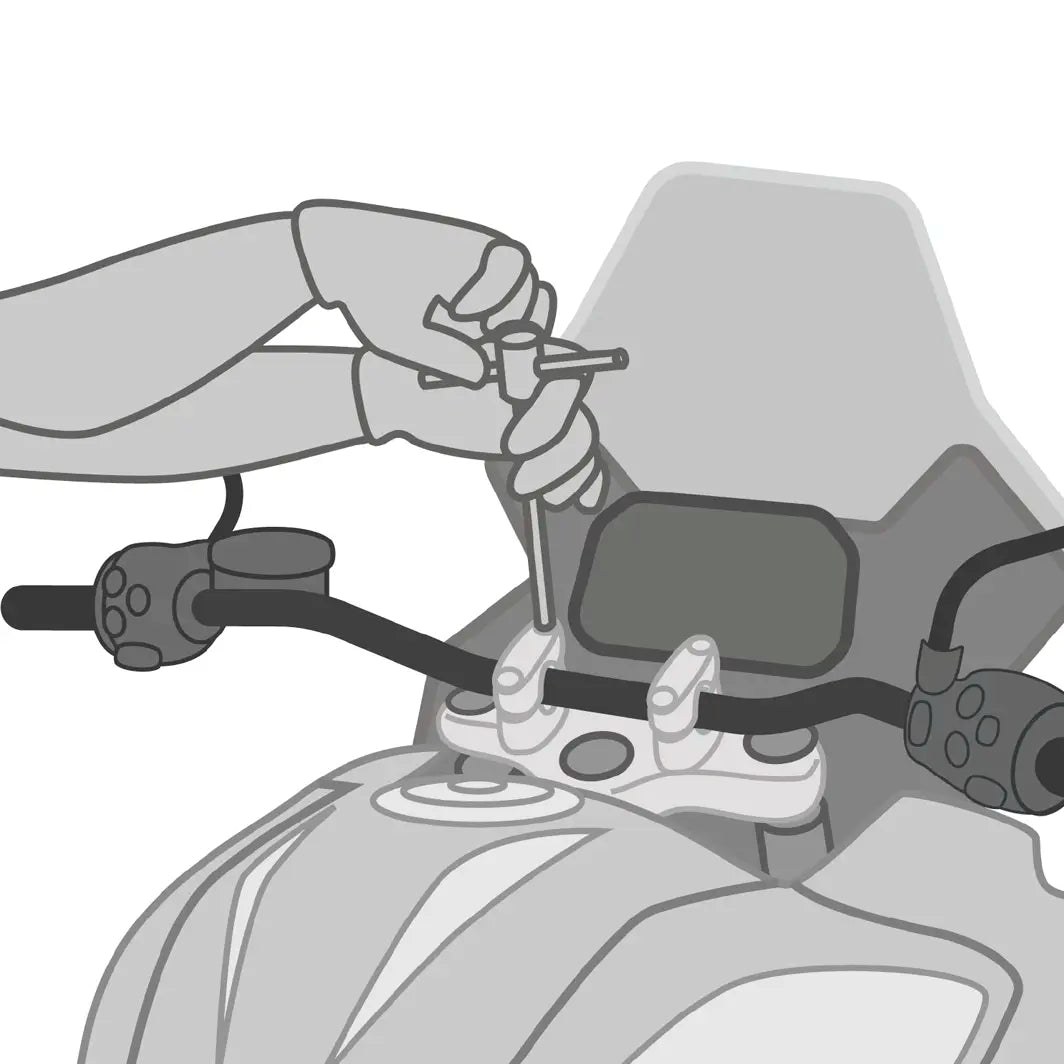
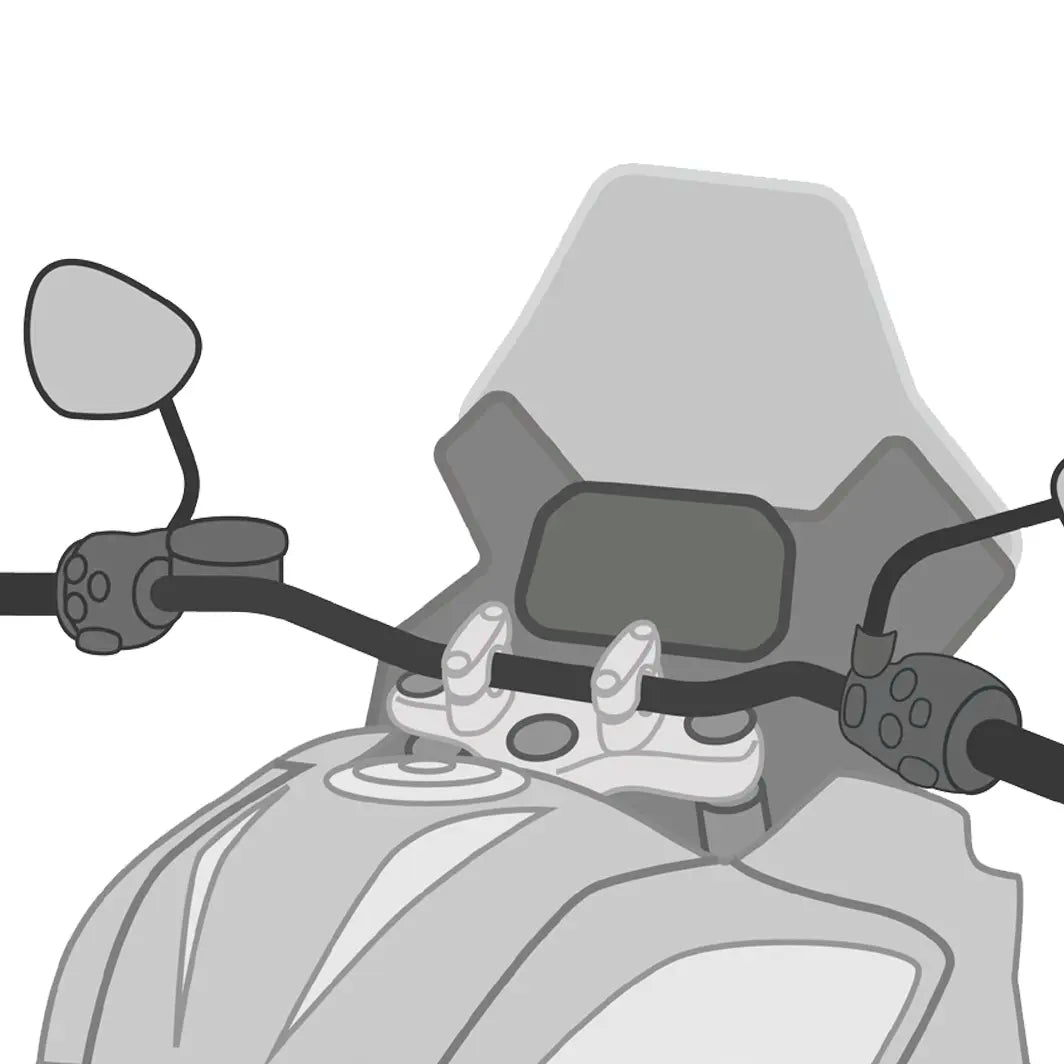
Step 2
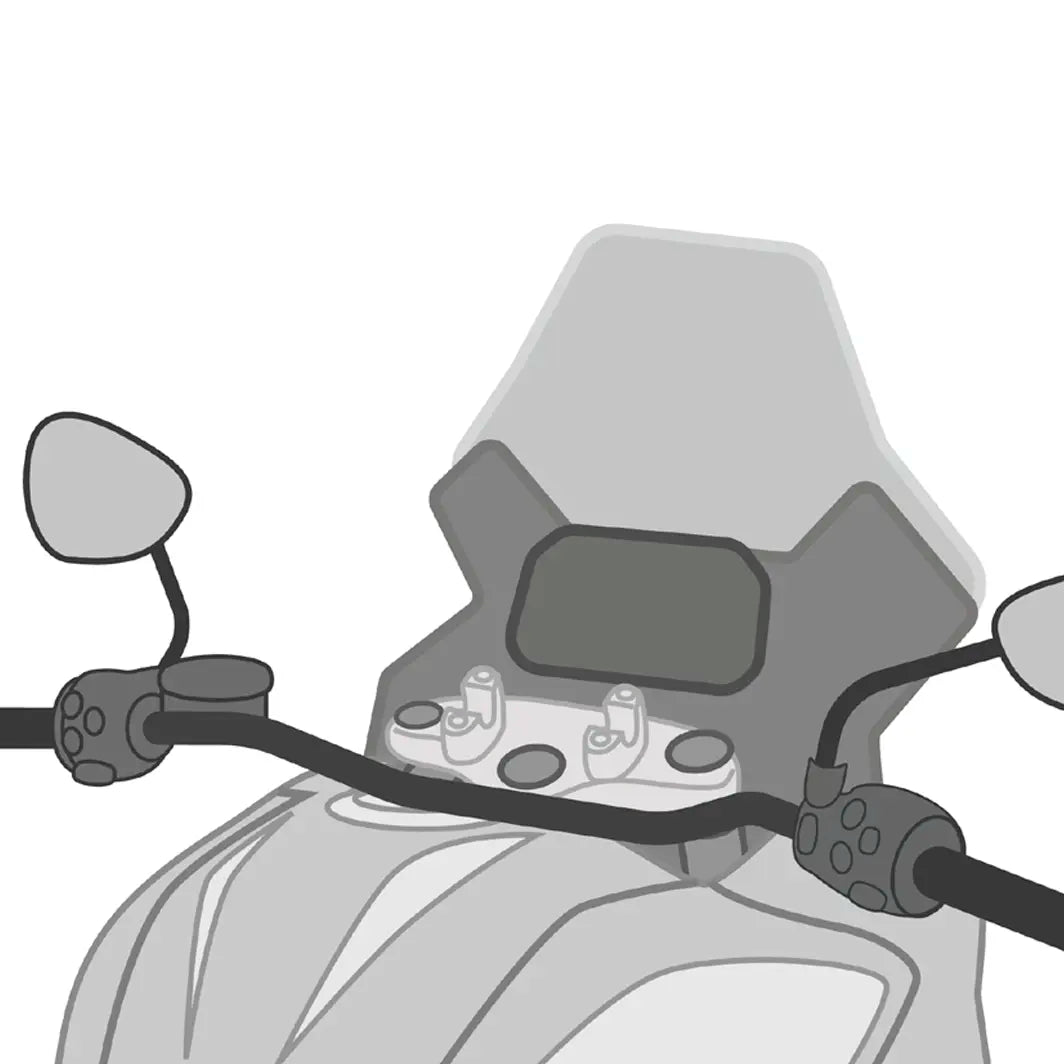
Remove Original Clamps
Using a 6mm Allen wrench, unscrew and remove the original clamps that are holding the handlebar.
Step 3
Set the Handlebar Aside
Once the original clamps are removed, gently set the handlebar to the side. Make sure not to dismount or strain the cables.
Step 4
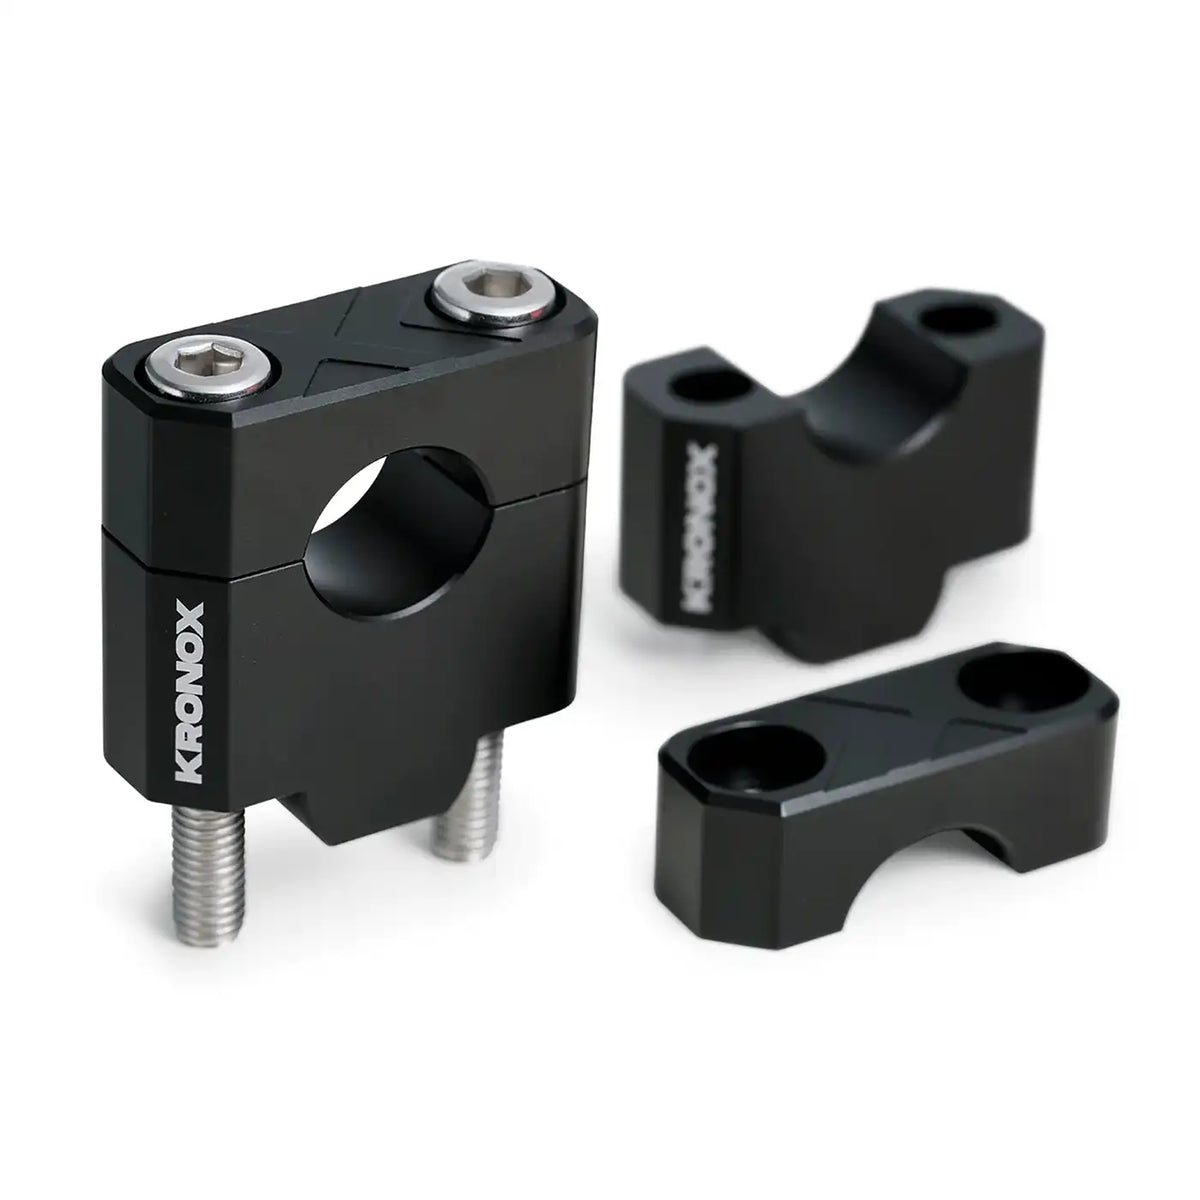
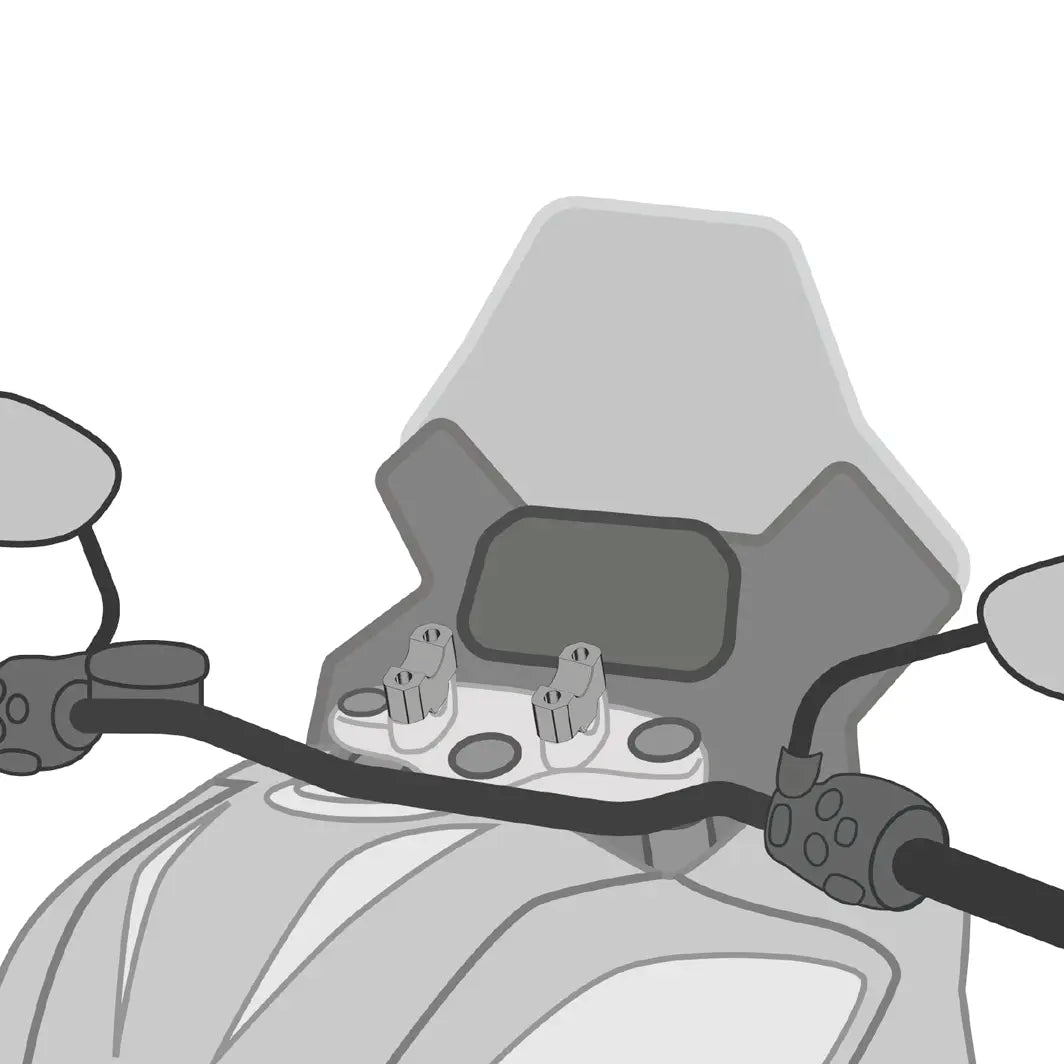
Install the Kronox Lower Pieces
Attach the lower pieces of the Kronox Handlebar Risers to where the original clamps were situated.
Step 5
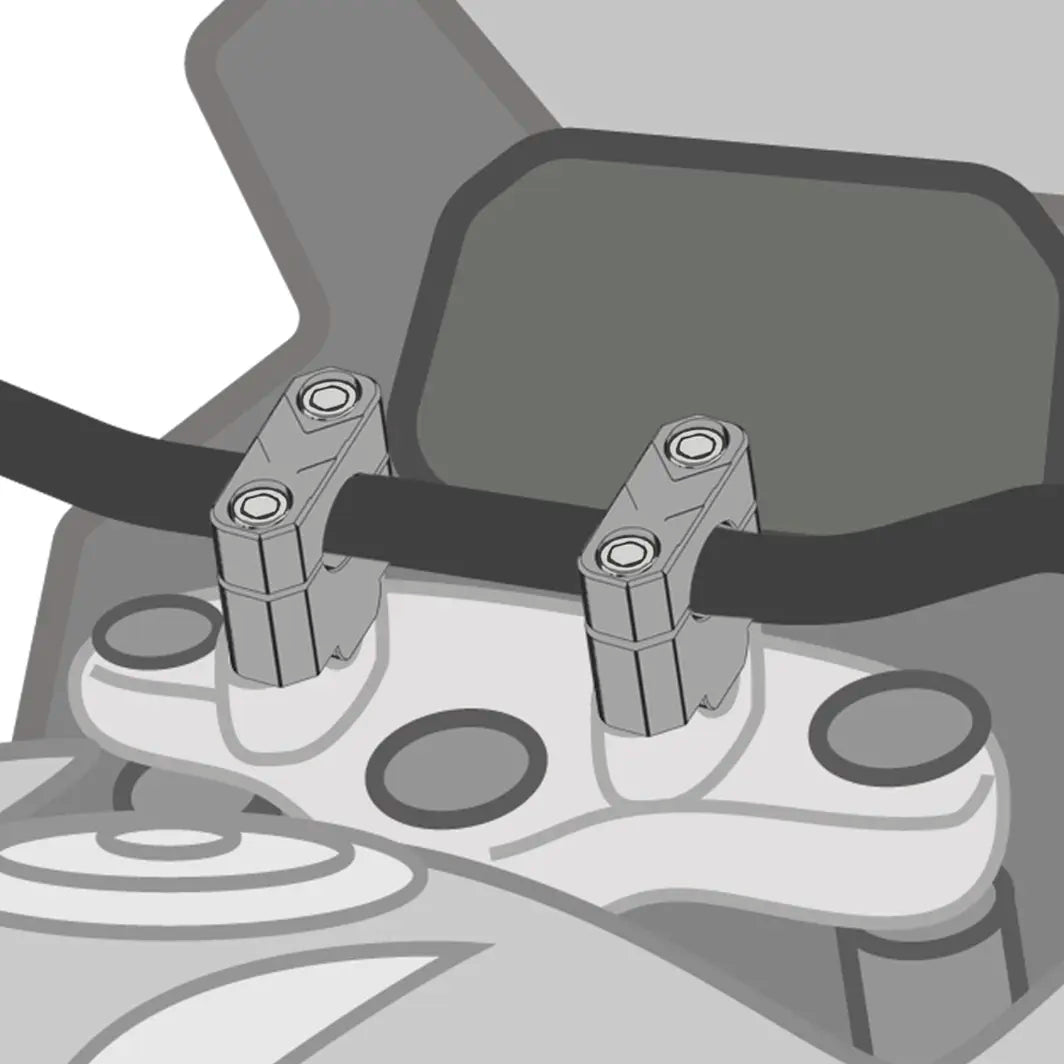
Reattach the Handlebar and Secure the Risers
Place the handlebar back onto the lower pieces of the Kronox Handlebar Risers. Now, position the top caps of the Handlebar Risers and securely tighten the bolts using the 6mm Allen wrench.

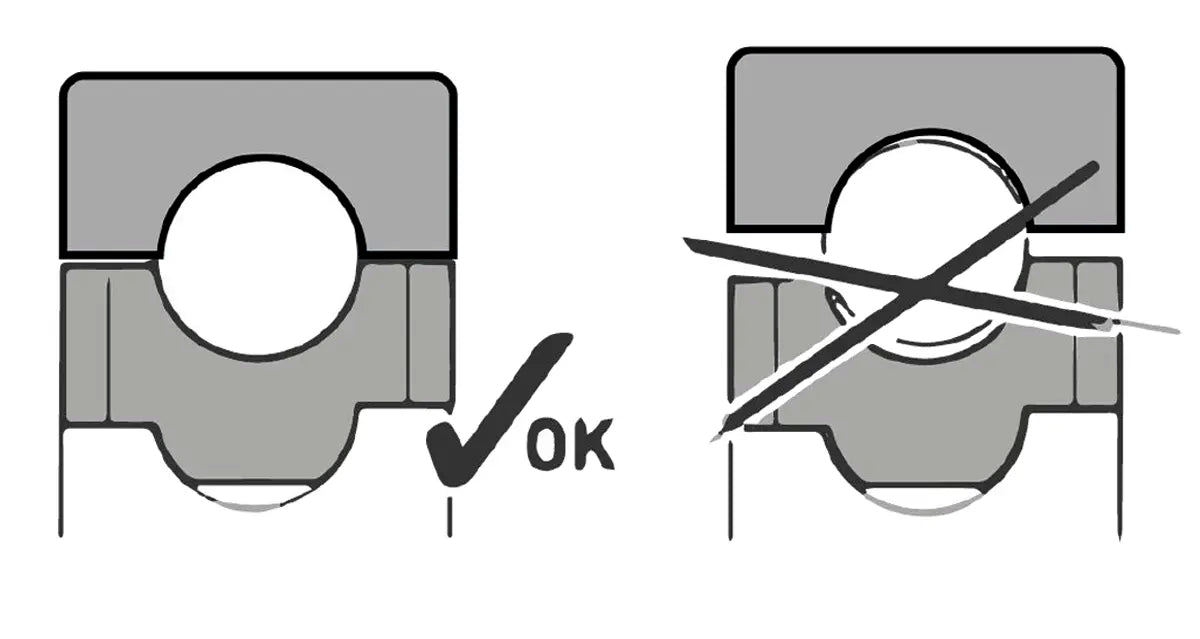
Assembly Diagram
Please refer to the Kronox handlebar Risers assembly diagram for visual guidance.
Caution
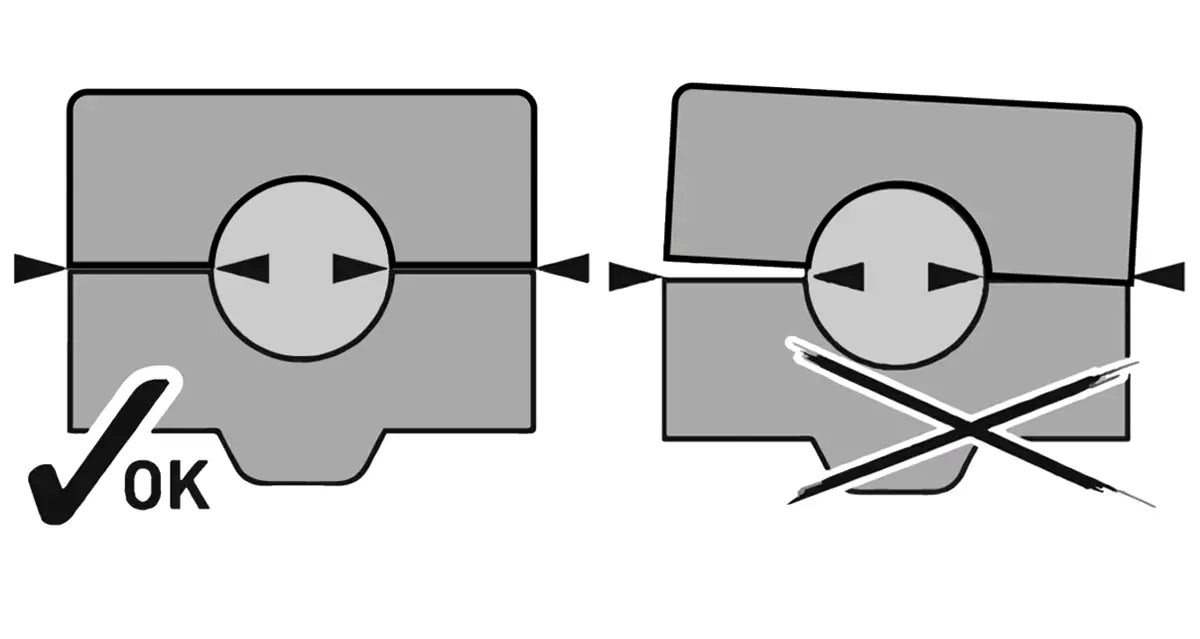
- Do not over-tighten the bolts as it can damage the risers or handlebars.
- Ensure that the handlebars and risers are secured properly before riding.
- Regularly check and ensure that the risers are secure and in good condition.

One-Year Warranty
Our products come with a 1-year warranty covering material and manufacturing defects.
Unregistered products, not ought directly from our store, are only covered for 90 days.
For full warranty activation, register your product now